Print a Document
After logging to RICOH CloudStream Print&Scan PC Client, the CloudStream printer is automatically added to your client machine.
Confirm that the CloudStream printer is added to Window's Printer & Scanner. The CloudStream printer's name is RICOH CloudStream Printer.
-
Open a document.
-
Go to File, then print the document.
-
Select RICOH CloudStream Printer as printer.
-
Proceed to submit the print job.
 You can find detailed Print&Scan PC Client documentation
If you are an administrator and you have access to the RICOH CloudStream Print&Scan portal, you can see the print job displayed as pending in the print queue. To view, follow the steps below.
-
Login to Print & Scan portal via CloudStream DM portal using an OIDC admin account.
-
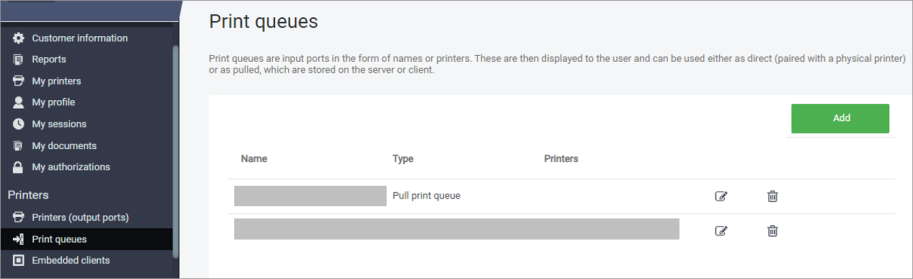
Go to Print queues under Printers section.
-
Click the edit icon beside the RICOH CloudStream Printer queue.
-
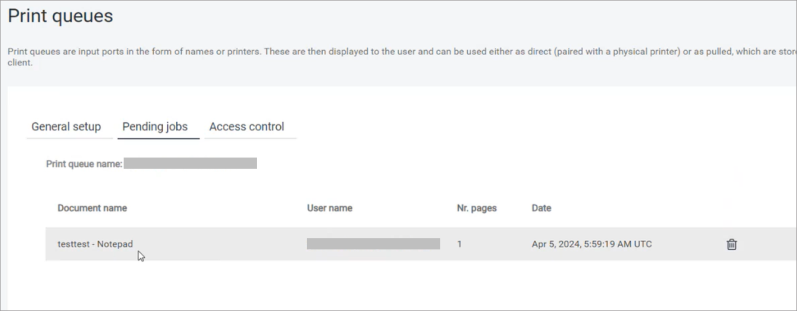
Click the Pending Jobs tab.
All documents sent to RICOH CloudStream Printer from different users are displayed in the list.
If your print job is not listed, please try again and check if your connection and authentication to the RICOH CloudStream Print&Scan Embedded application is still active.
