Release a Print Job
After your documents are successfully queued to theRICOH CloudStream Print&Scan Embedded, you can release them to any devices managed by CloudStream DM.
To simply release a document, follow the steps below.
-
Go to any Ricoh device with RICOH CloudStream Print&Scan Embeddedapplication installed.
Devices with the RICOH CloudStream Print&Scan embedded application display the Print&Scan login screen in the panel similar to the image below.
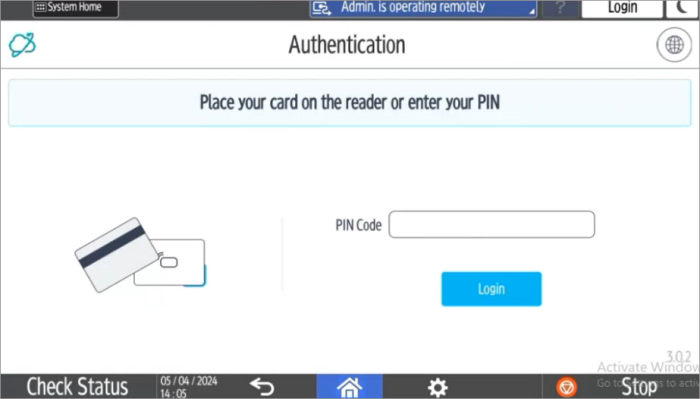
Depending on the configured embedded client, the login screen will display different types of logins. For the example above, the configured model of login is Card swipe and PIN Code (Short ID).
If the device does not have the embedded yet, you can install it by following the steps in Install Print&Scan Embedded App.
-
Login using the account that you used to send the print job.
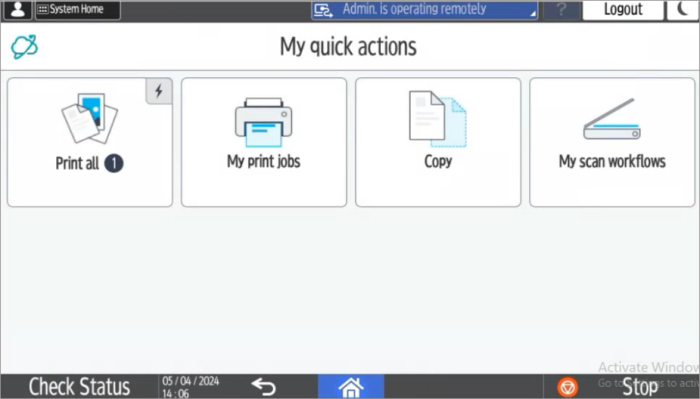
You will see the Print&Scan home screen after a successful login.
-
Tap [My Print Jobs].
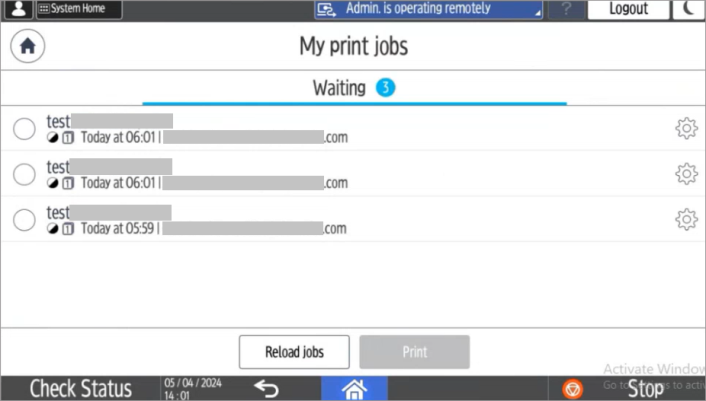
All the print jobs you sent to the RICOH CloudStream Printer is displayed in the list.
-
Tap the circle to select the document you want to print. You can select multiple documents and print them together.
-
Tap [Print] to start printing.
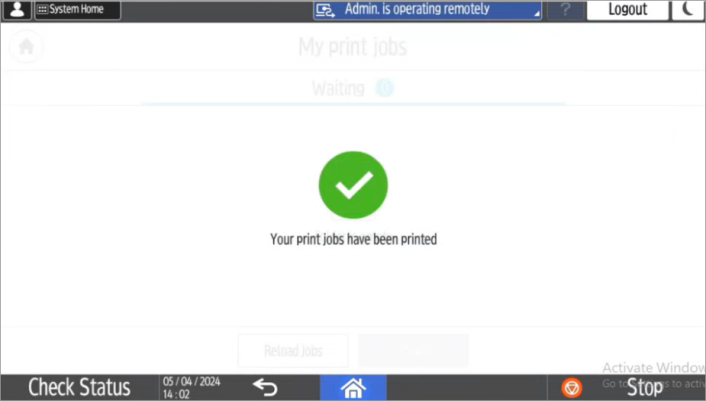
When all print jobs are printed, you will see this screen.