Create Categories and Groups
Grouping devices help you manage the fleet effectively. Functions such as Configuration Task and Device Policies let you select a specific group of devices as their target receiver of the settings.
You can easily group the devices in one view by dragging devices from the unassigned groups to the customized group.
To create a group, follow the steps below:
| Order | Instructions |
|---|---|

|
Create a Custom Category. |

|
Create a Group. |

|
Move Devices to the Group. |
Create a Custom Category
A custom category is a node that is displayed below the default categories (IP Address, Models, and Host Name).
 You must create a category before you create a group.
-
Go to Device List.
-
On the left-hand side, right-click on the empty area.
-
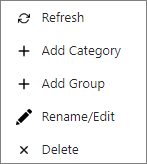
Click [+ Add Category].
-
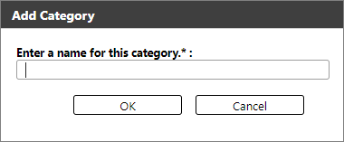
Enter the name of the Category. The name must not be a duplicate of the existing categories.
-
Click [OK].
Every custom category has a default "unassigned" group, which contains all the devices in the list. Expand the category to see the 'unassigned' group.
You can edit the name of the category by selecting [Rename/Edit]  in the right-click options.
Create a Group
A group can only be created under a category. You must select the category where you want your group to be added.
-
Go to the Device List.
-
On the left-hand side, select a category where you want the group to be added.
-
Right-click and select [+ Add Group].
-
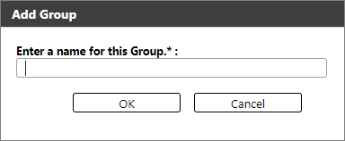
Enter the name of the group. The group name must not be a duplicate of the existing groups within the selected category.
-
Click [OK].
The created group will be displayed under the selected category. By default, the number of devices besides the group name is zero. The number will change when you start moving devices to the group.
You can create multiple groups in one category, and a group can have one or more sub-groups. To create a sub-group, select a group in step #1 instead of a category. From the group, right-click and add a group.
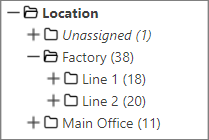
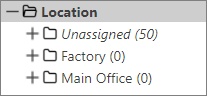
An example below shows the groups "Factory" and "Main Office" are created under the category "Location". Both newly created groups have zero devices in them; drag devices to the group to add them.
Move Devices to the Group
Every category has an "Unassigned" group which contains all devices that have not been placed in a named group. Add devices to the group by dragging the devices.
-
Click the "Unassigned" group.
-
In the list of devices, select a device or multiple devices.
You can use your keyboard keys to select multiple devices. Click the first device, then press Ctrl or Shift, and then click the last device. Ctrl lets you click multiple devices, while Shift selects all devices between the first and last device.
-
Click and hold, then drag them to the group where you want the devices to be added.
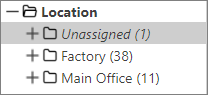
An example below shows the groups "Factory" and "Main Office" now have devices under them.
A device can only exist in one group. If you want to sort devices within a group, you can create a sub-folder and add the groups from there.
The example below shows devices grouped within the "Factory" group.