Add XDP Device Preferences
After you create and name a template, you are ready to set the extended device preferences. It’s important to note that there are over 1000 individual settings you can modify. Given the sheer number of settings, you can find instructions below on how to select the preferences but this topic does not provide an exhaustive account of the settings themselves.
 Refer to Extended Device Preferences (XDP) and read Avoid Preference Conflicts for current known settings limitations and/or conflicts. The preferences are organized into ten distinct categories, and there are many subcategories within each category. Click on the icon beside a category to view its contents.
View a Preference Set
In the example below, the System Settings preferences are loaded on the right side of the screen. The category or the settings trail the preference belongs to is always shown as the header.
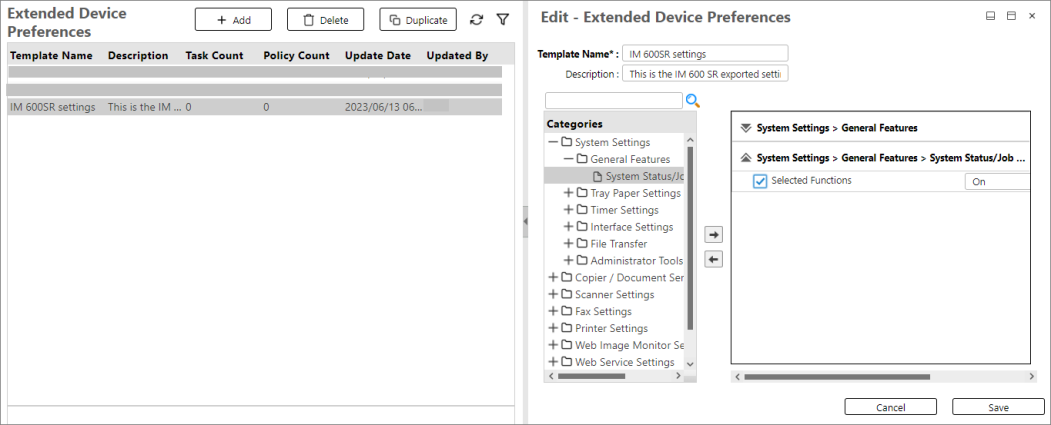
To add settings to the template, you must select the setting from the Categories or Search a Setting, then move it to the right-hand pane, you can use the following buttons.
|
Button |
Icon |
Description |
|---|---|---|
|
Expand |
+ |
Expands the category and displays the sub-categories. |
|
Collapse |
-
|
Collapses the category. |
|
Add |

|
Adds the selected category, sub-category, or node to the right-hand side. If the category has sub-categories when the [Add] button is clicked, all the sub-categories under the selected category will be added to the right-hand side. |
|
Remove |

|
Removes all unchecked settings from the right-hand side. |
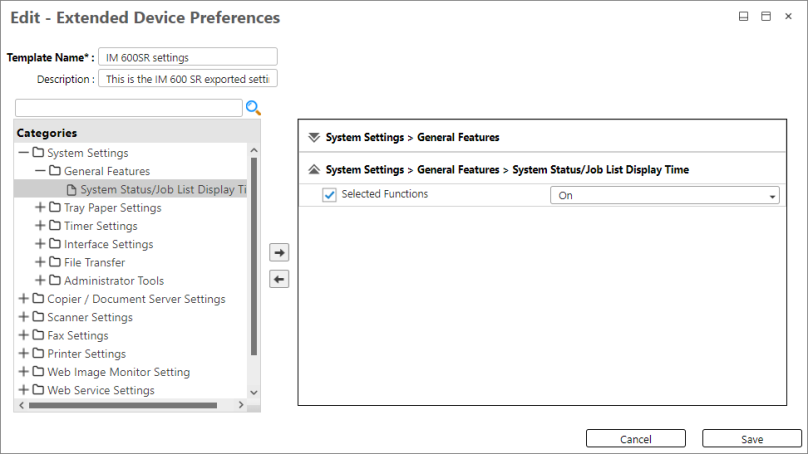
After a category, sub-category, or node is added, you must check the box of the desired setting, then input or select the value of the setting.
An example below shows a template "IM 600SR settings" which aims to enable the Selected Functions setting under System Settings> General Features> System Status/Job List Display Time.
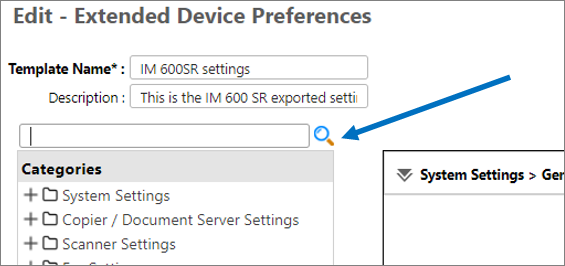
You can use the search function to locate a setting that matches header names, set names, or individual preferences.
A search for "email" will locate all categories and nodes with "email" in their settings and displayed on the Categories pane. Select the preference set from there then add it to the right-hand side.
Saving a Template
To save a configuration template, simply click [Save].
Please note that saving a template will remove settings which do not have configurations, leaving only the ones that contain configuration items.
For example, select the Email category and add it to the right-hand pane, then configure the Email Reception node only. When you save the template, only the Email Reception node which contains the configuration items is saved and the rest of nodes are removed.